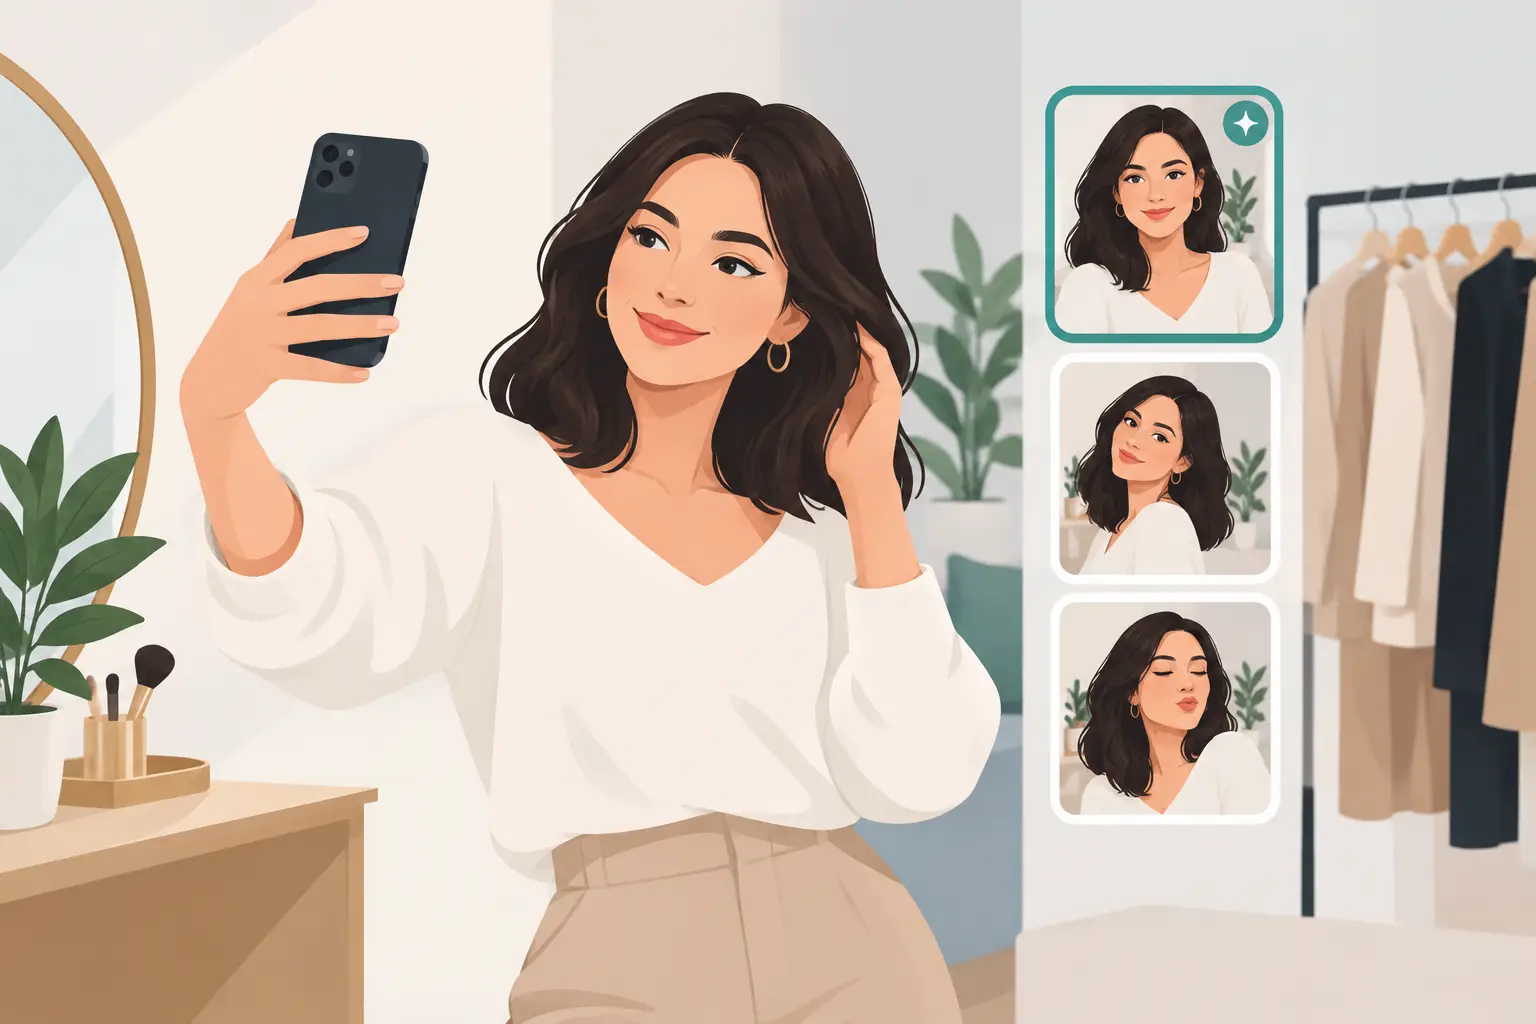
A styling selfie is not the same as a social selfie. You are not trying to create a dramatic mood, show off a filter, or find your “good side.” You are giving a styling tool a clean view of your natural features. Knowing how to take styling selfies well can make color recommendations, virtual try-ons, and outfit suggestions feel much more personal from the start.
The good news: you do not need a studio, expensive camera, or perfect skin. A phone, a window, and five focused minutes are enough. The goal is simple - capture your face and proportions as they look in real life.
What makes a styling selfie useful?
A useful styling selfie shows accurate color, clear facial structure, and a natural expression. It lets a stylist, or an AI-powered style tool, see details that makeup, harsh lighting, and heavy editing can hide: your skin undertone, eye color, hair depth, face shape, and overall contrast.
That does not mean your photo needs to be unflattering. It means it should be honest. Think of it as the fitting-room mirror version of you: polished enough to feel confident, clear enough to make better wardrobe decisions.
If your goal is a personal color analysis, photo accuracy matters even more. A warm yellow lamp can make cool skin appear warmer. A beauty filter can smooth away natural contrast. The result may still be a nice photo, but it is less reliable for styling.
How to take styling selfies in 6 simple steps
1. Start with soft natural light
Stand facing a window during daylight. Bright but indirect light is best, such as light coming through a sheer curtain or from an overcast sky. This gives your face even illumination without creating strong shadows under your eyes, nose, or jaw.
Avoid standing with the window behind you. Backlighting turns your face into a silhouette and can wash out your features. Also skip direct midday sun when possible. It can make you squint and create high contrast that is not actually part of your natural coloring.
If natural light is unavailable, use a soft, neutral white light placed in front of you. Bathroom lights and warm bedroom lamps often add yellow or orange tones, so they are not ideal for a color-focused selfie.
2. Use your phone’s standard camera
The front-facing camera is convenient, but the rear camera often captures more detail and truer color. If you can, prop your phone on a shelf or tripod, set a timer, and use the rear camera. A friend can also take the photo for you.
Do not use portrait mode, beauty mode, face-smoothing, or a filter. Turn off any setting that automatically changes brightness, skin texture, or eye color. You want your real features to lead the styling process, not your phone’s idea of what a selfie should look like.
Clean the camera lens before you start. It sounds small, but fingerprints can create a soft haze that affects sharpness and color.
3. Keep the camera at eye level
Place the camera at roughly eye height, about an arm’s length away or slightly farther. Hold your head upright and look directly into the lens. This angle gives the clearest read of your face shape and proportions.
A camera held too low can exaggerate the jaw and nostrils. A camera held high can make the forehead look larger and change the balance of your features. Those angles might work for a playful Instagram post, but they are not the best choice when you want styling guidance.
For a full-body styling photo, move farther back rather than using a very wide lens. Keep the camera level around chest height and stand a few feet away. This reduces distortion and gives a more realistic sense of proportion.
4. Choose a plain, neutral background
A white, light gray, beige, or softly colored wall works well. Your background should not compete with your face or reflect strong color onto your skin. A bright red wall, neon artwork, or a window full of greenery can subtly shift how your coloring appears on camera.
You also do not need to stage your entire room. Clear one small area, face the light, and keep the frame simple. A neutral background makes it easier to see your features and, later, focus on the outfit you are testing.
5. Wear simple clothing and minimal makeup
For a face-focused style scan, wear a plain top in white, gray, black, or another muted neutral. Avoid a bright color near your face at first, especially if you are trying to understand which colors flatter you. A vivid top can reflect onto your skin and influence the photo.
Keep makeup light or go makeup-free if you are comfortable. Heavy foundation, bronzer, colored contacts, false lashes, and contour can change the visible balance of your features. The same goes for tinted sunscreen with a strong cast. You can absolutely wear makeup in daily life - this first photo is simply about establishing a reliable baseline.
Pull your hair away from your face if it covers your cheeks, jawline, or eyes. If your natural hair color is part of what you want assessed, keep it visible. If you currently have a bold temporary color or strong highlights, that is still useful information, but understand it may affect color recommendations.
6. Take more than one photo
One photo can be enough, but a small set gives you better options. Take a straight-on head-and-shoulders shot, then a three-quarter view if the platform accepts it. For outfit planning or virtual try-ons, add a full-body image with your arms relaxed slightly away from your sides.
Review the images before uploading. Ask three quick questions: Is my face evenly lit? Are the colors true to life? Can I clearly see my face, hair, and body outline? If the answer is yes, you are ready.
Common styling selfie mistakes to avoid
The biggest mistake is treating this like a high-fashion selfie. A dramatic angle, edited skin, and low restaurant lighting may look great in your camera roll, but they give less useful information for styling.
Be careful with mirrors, too. Mirror selfies can work for showing an outfit, especially when you need a quick fit check. For a face scan, though, a direct camera photo is usually clearer. Mirrors can introduce glare, reverse the image, and make it harder to keep the camera aligned.
Another common issue is wearing your favorite statement color for the first scan. It is tempting, but it can make it harder to separate what is naturally flattering from what the photo lighting is doing. Start neutral, then use your results to test the colors you already own.
Use different selfies for different style decisions
There is no single perfect photo for every fashion task. A close, front-facing selfie is best for understanding personal color, contrast, and face shape. A full-body photo is more useful for virtual try-ons, silhouette ideas, and outfit proportions. An outfit selfie can help you evaluate whether the pieces work together before leaving home.
For example, you might use a clean daylight headshot to learn which blues, greens, or neutrals bring out your eyes. Then use a full-body photo to test a blazer-and-jeans outfit for work. Finally, take a quick mirror selfie to compare shoe options before your commute. Each image answers a different question.
The trade-off is privacy versus precision. You should only upload images to services you trust and feel comfortable using. When you do, a clear photo helps you get more specific guidance instead of generic advice that could apply to anyone.
Turn your selfie into better outfit choices
Once you have a strong styling selfie, use it as a reference point rather than a one-time upload. Compare new purchases against your best colors. Notice whether necklines frame your face well. Test accessories near your skin and see whether gold, silver, soft neutrals, or high-contrast pieces make you look more energized.
A tool such as SHMOT can use a selfie-based Style Scan as the starting point for a wider system: your visible features, personal palette, digital wardrobe, virtual try-ons, and planned outfits all work from the same reference. That is more useful than chasing a new trend every time you get dressed.
Take the clear photo first. Then let it make the next outfit decision easier.